Curated spot picks

Best Meccha Chameleon Spots to Try First.

This page keeps the choice short: one or two useful spots per map. Open the full map guide when you want every spot for that stage.

  • One or two picks per map.
  • Same spot guide card as map pages.
  • Full lists stay on map pages.

Page rule

Best Spots is a curated shortcut page.

Map guides carry the complete spot list for each stage.

Template rule: each spot pairs the image on the left with the matching strategy on the right on desktop.

Best picks by map

Pick the map first, then copy one spot.

Both this page and the map guides use the same paired SpotGuideCard component. Only the spot list changes.

Indoor Country

2 featured spots

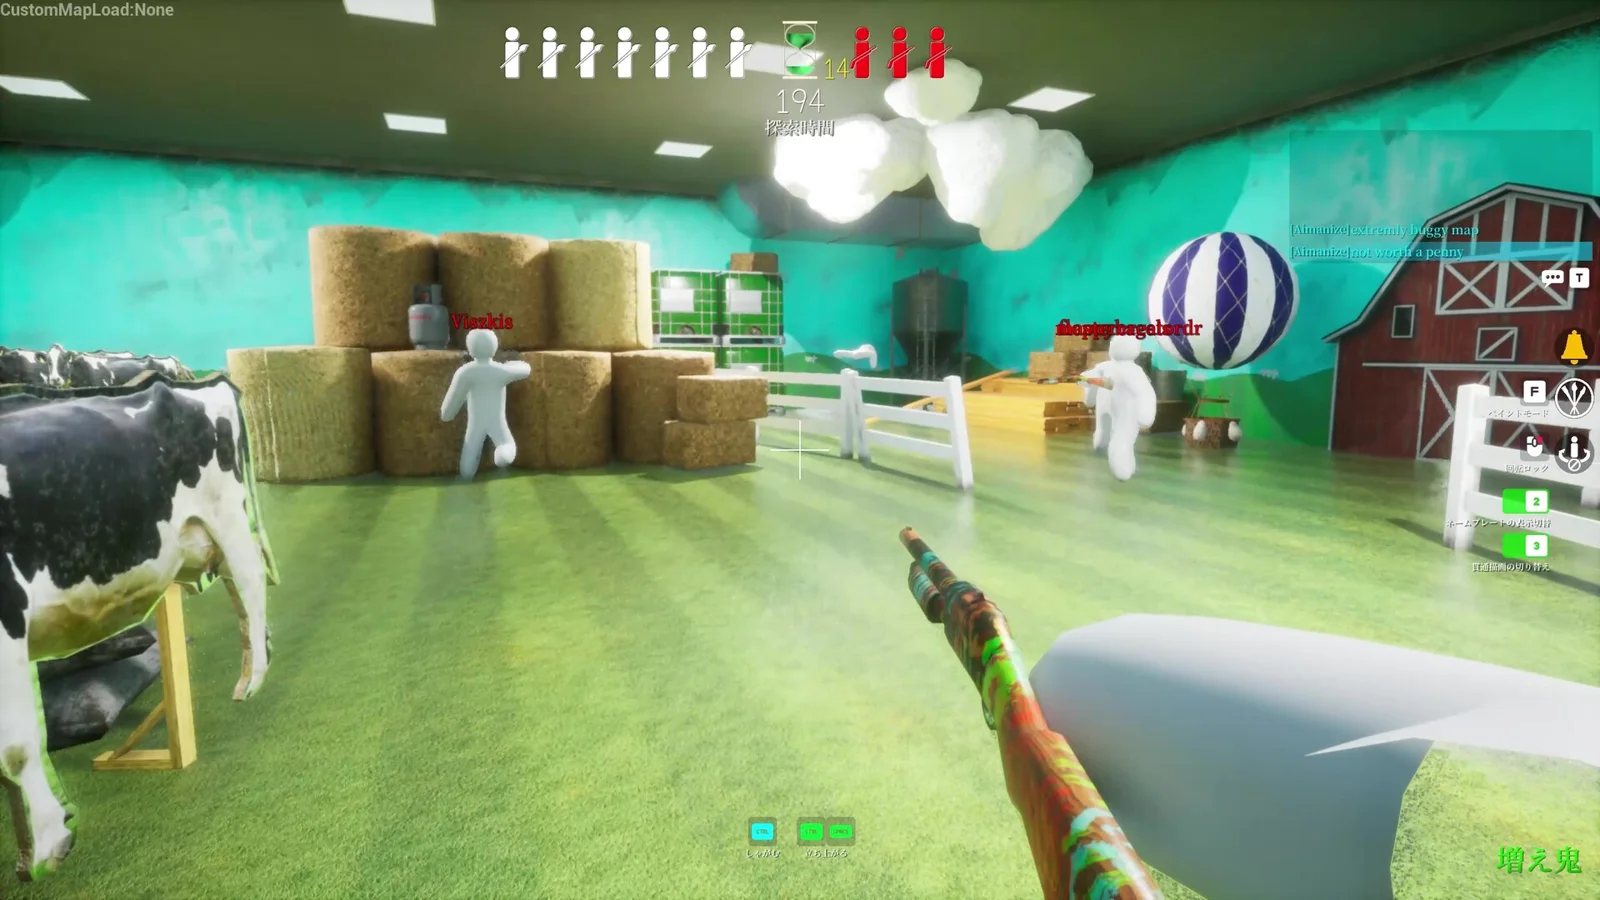
Use hay bales, cow props, fence lanes, and bright floor sightlines to hide faster or catch fake scenery before time runs out.

Open full map guide
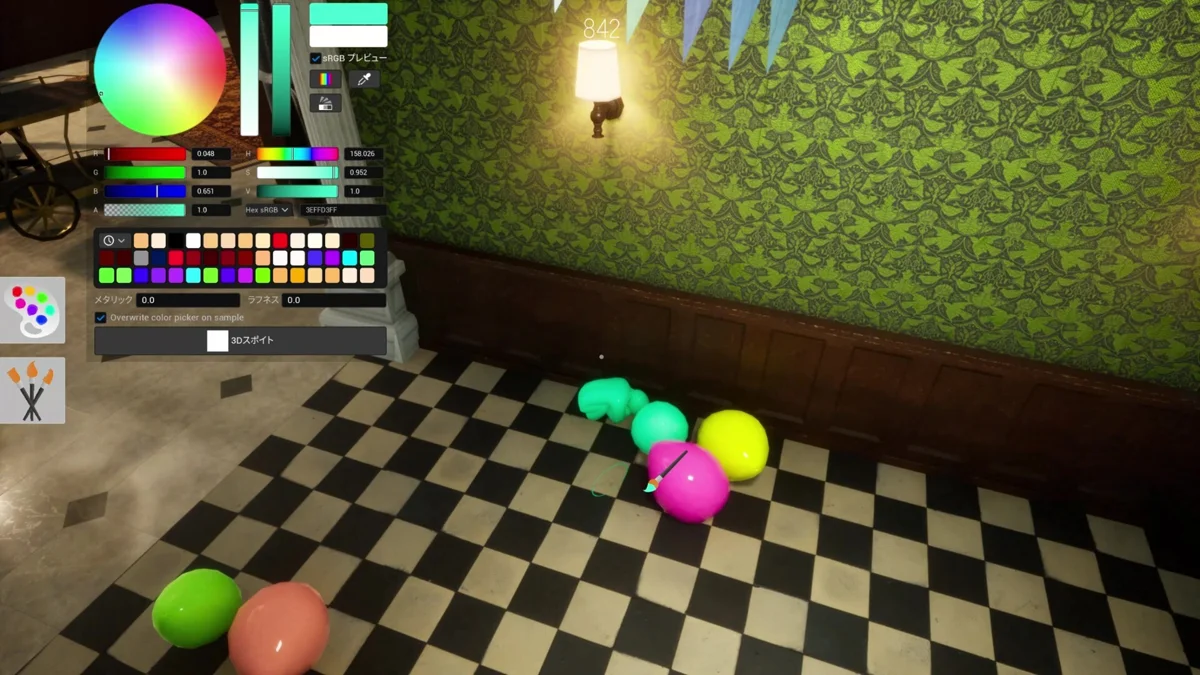
Hay Bale Face hiding example1

Spot 1

Hay Bale Face

HiderMedium5-7 playersProp Mimic

Hay stacks already have a blocky shape. If your color and pose become square enough, the seeker reads you as one more bale.

Paint recipe

Main: Hay yellow

Shadow: Darker hay edge

One broad color plus one shadow edge is enough.

Pose tip: Crouch or square your body beside the stack.

Hider plan

  1. Stand beside the hay stack, not in open floor.
  2. Sample the hay main yellow.
  3. Paint one broad layer.
  4. Add one darker edge away from the light.
  5. Crouch into a boxy shape.

Seeker counter

  • Check hay stacks early.
  • Look for patches that are too smooth.
  • Circle once instead of checking only the front.

Common fail: Standing too far away from the real hay stack makes you read as a separate object.

Clip idea: Show the seeker walking past the hay stack, then reveal the hider.
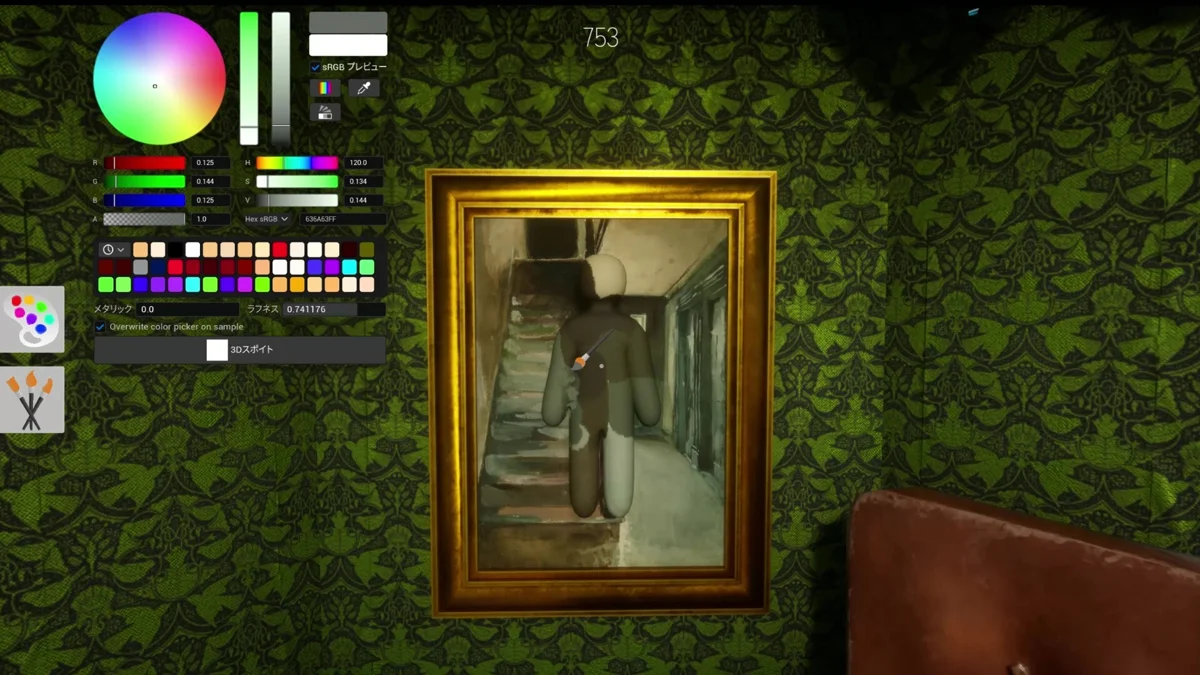
Cow Standee Shoulder hiding example2

Spot 2

Cow Standee Shoulder

BothHardAnyProp Mimic

Cow props reward shape mimicry. The black and white blocks distract seekers from the body outline.

Paint recipe

Main: Warm white

Second: Black patches

Use two large patches, not tiny details.

Pose tip: Hide hands and head edges against the cow curve.

Hider plan

  1. Stand near the cow prop edge.
  2. Paint white first.
  3. Add one or two black blocks.
  4. Match the curve instead of the exact texture.

Seeker counter

  • Do not only look for wrong colors.
  • Compare the curve against real cow props.
  • Check if a patch has a human shoulder line.

Common fail: Painting too many small spots makes the disguise look hand-made.

Clip idea: Cut from the cow prop to the reveal angle.

Cold Storage

2 featured spots

Use shelves, meat colors, dark corners, and floor shadows to hide or sweep low routes before time runs out.

Open full map guide
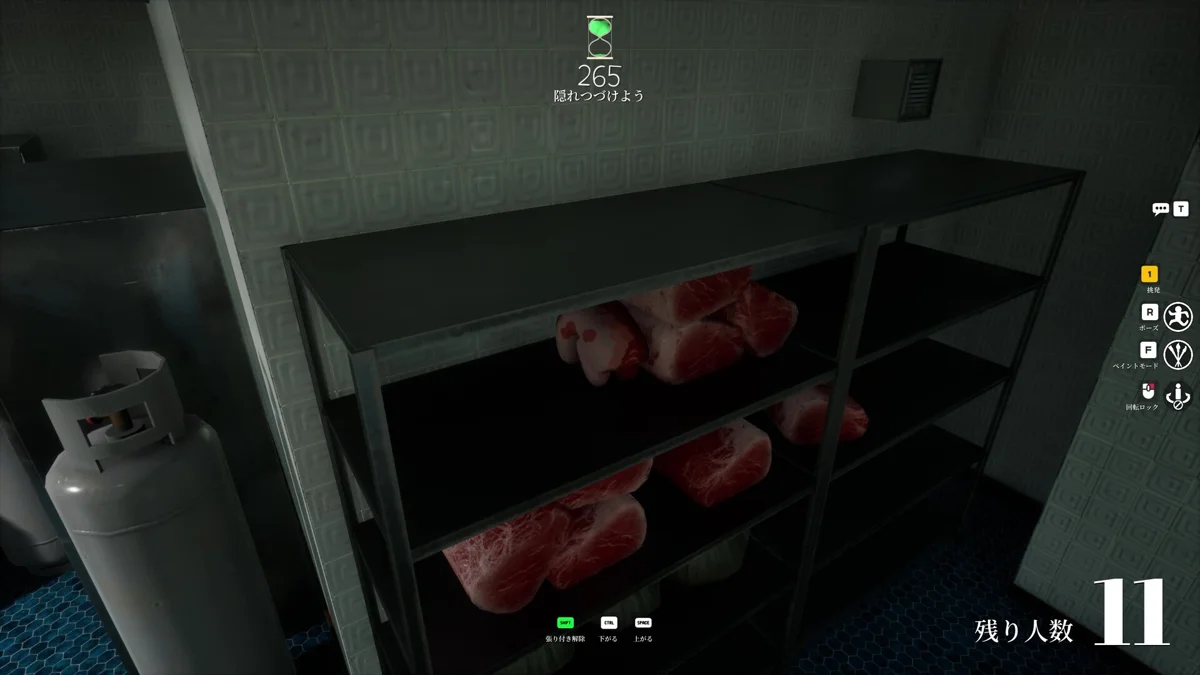
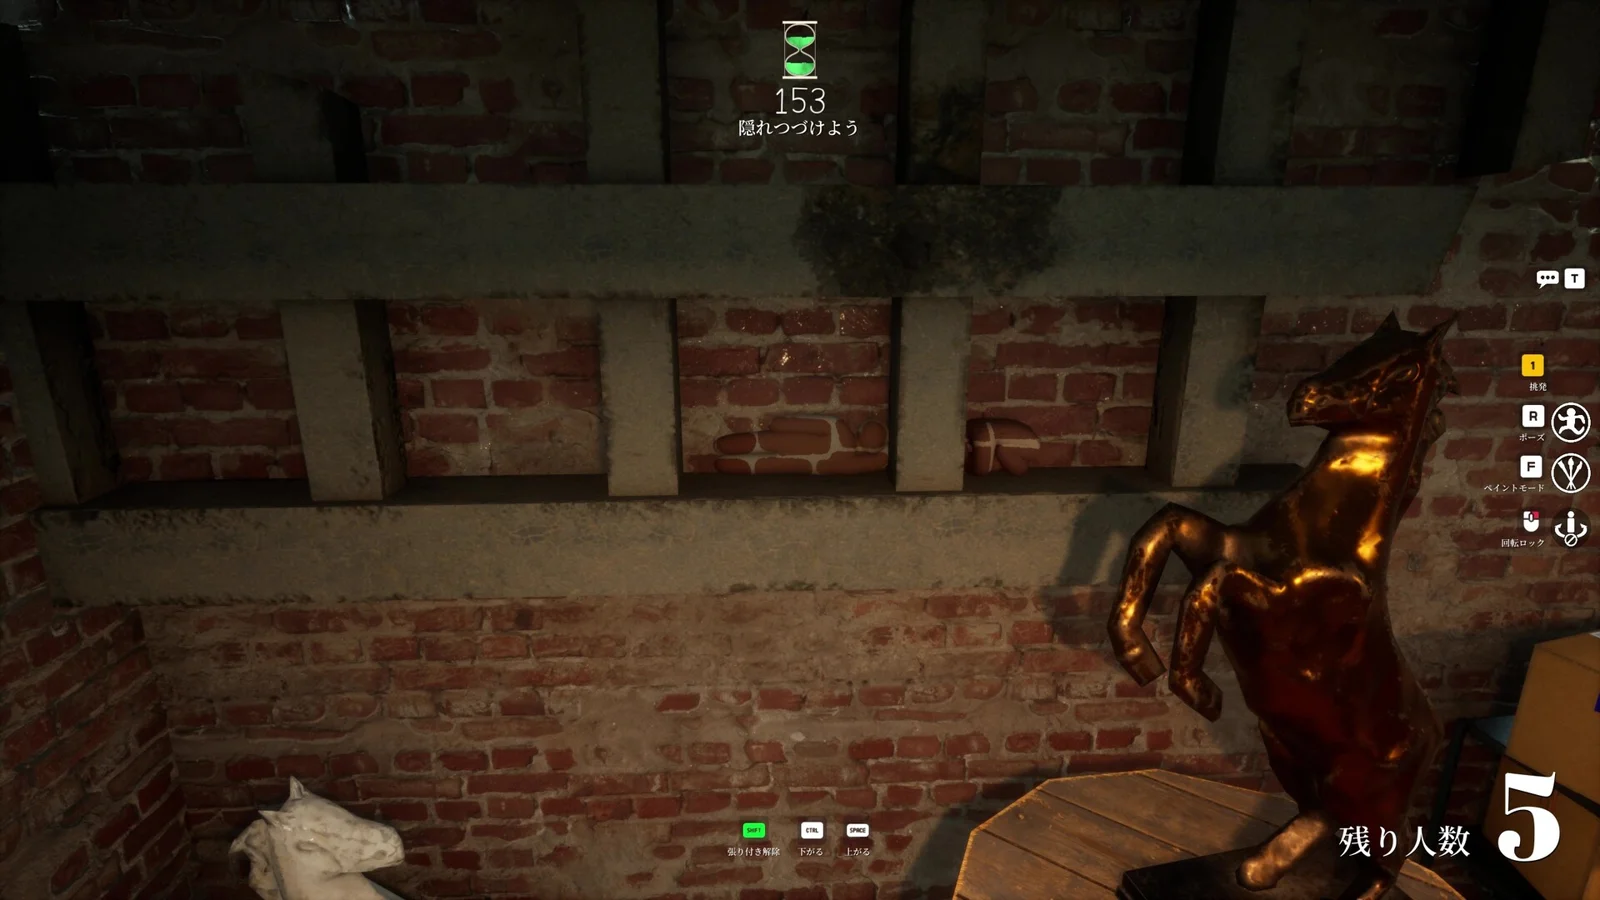
Meat Shelf Disguise hiding example1

Spot 1

Meat Shelf Disguise

HiderMediumAnyShelf Shadow

Shelves create dark horizontal layers. A low, dark body reads as storage clutter.

Paint recipe

Main: Shelf shadow

Second: Cold red

Keep the body darker than the shelf face.

Pose tip: Crouch low and tuck into the shelf edge.

Hider plan

  1. Find the shelf bottom, not the top.
  2. Sample the darkest shelf shadow.
  3. Paint the whole body slightly dark.
  4. Avoid bright highlights.

Seeker counter

  • Always check below eye level.
  • Look for smooth dark blobs.
  • Sweep shelves from both ends.

Common fail: Matching the red object instead of the shadow makes you pop out.

Clip idea: Show the seeker looking straight at the shelf and missing the low hide.

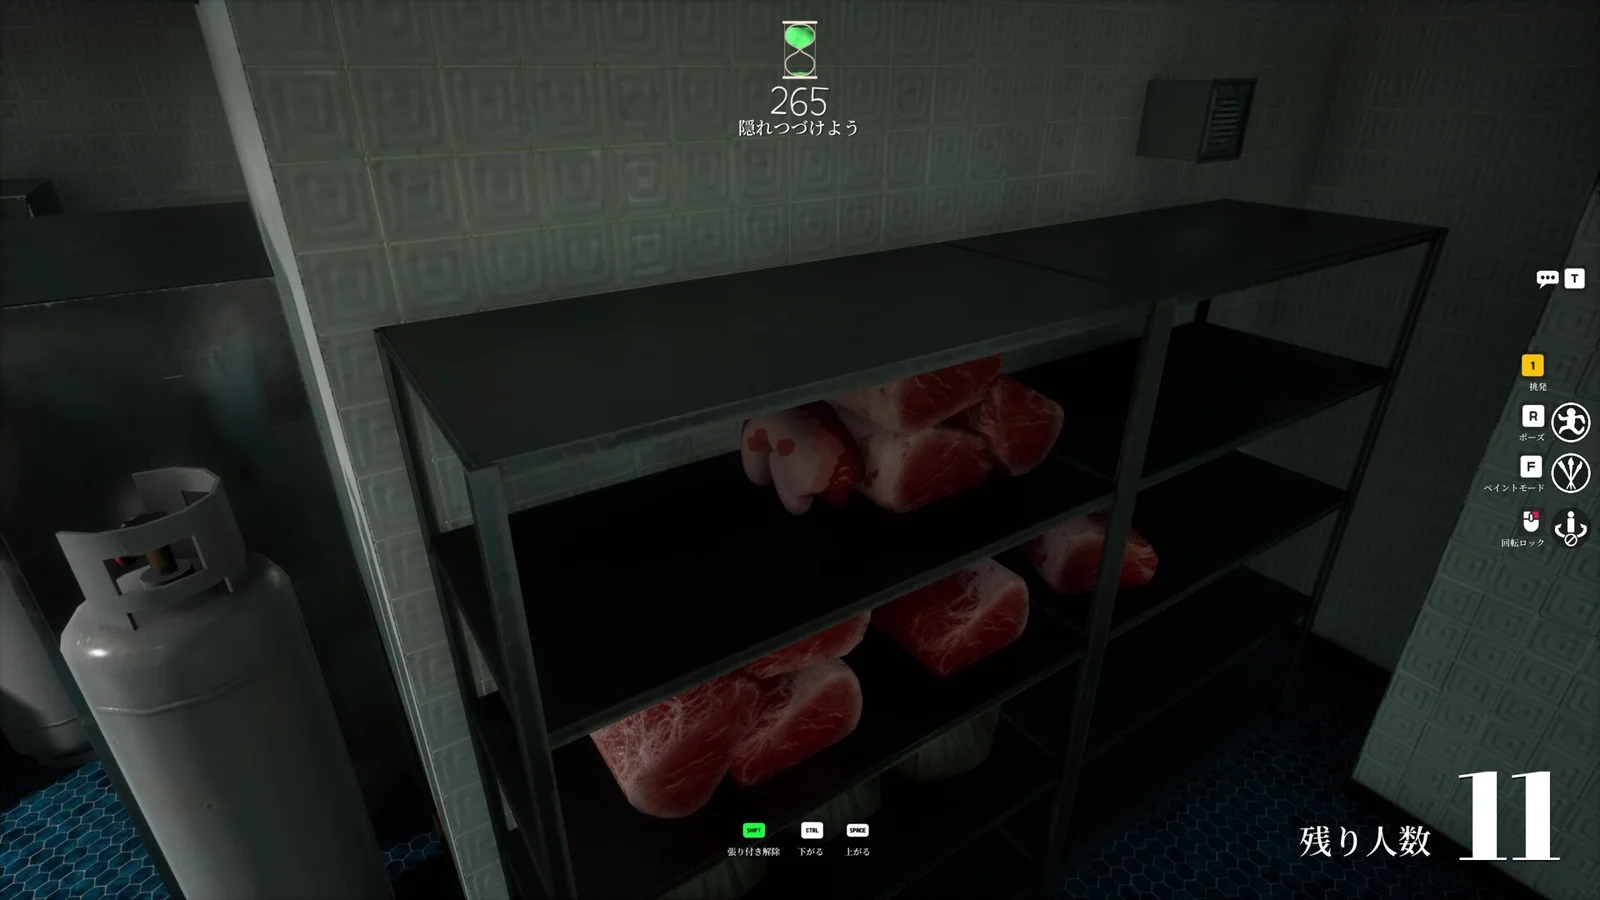
Corner Door Shadow hiding example2

Spot 2

Corner Door Shadow

BothMedium5-7 playersShelf Shadow

Cold rooms often have dark door corners where the wall, shelf, and floor meet. A compact body can borrow that layered shadow instead of trying to match every object color.

Paint recipe

Main: Doorway shadow

Second: Cold wall gray

Darken the body first, then add one gray edge only where the wall catches light.

Pose tip: Crouch tight beside the door edge and keep the head below the shelf line.

Hider plan

  1. Choose the corner where a shelf or doorframe breaks the outline.
  2. Sample the darkest doorway shadow.
  3. Paint one broad dark layer before adding gray.
  4. Keep the pose below eye height.

Seeker counter

  • Check door corners after the first shelf sweep.
  • Look for one smooth dark shape attached to the frame.
  • Step sideways so the floor shadow separates from the body.

Common fail: Standing in the corner without using the doorframe leaves a full human outline.

Clip idea: Show the seeker clearing shelves, then catching the corner from a side step.

Brick Loft

2 featured spots

Use brick color, dark beams, box edges, and low shelves to break your outline.

Open full map guide
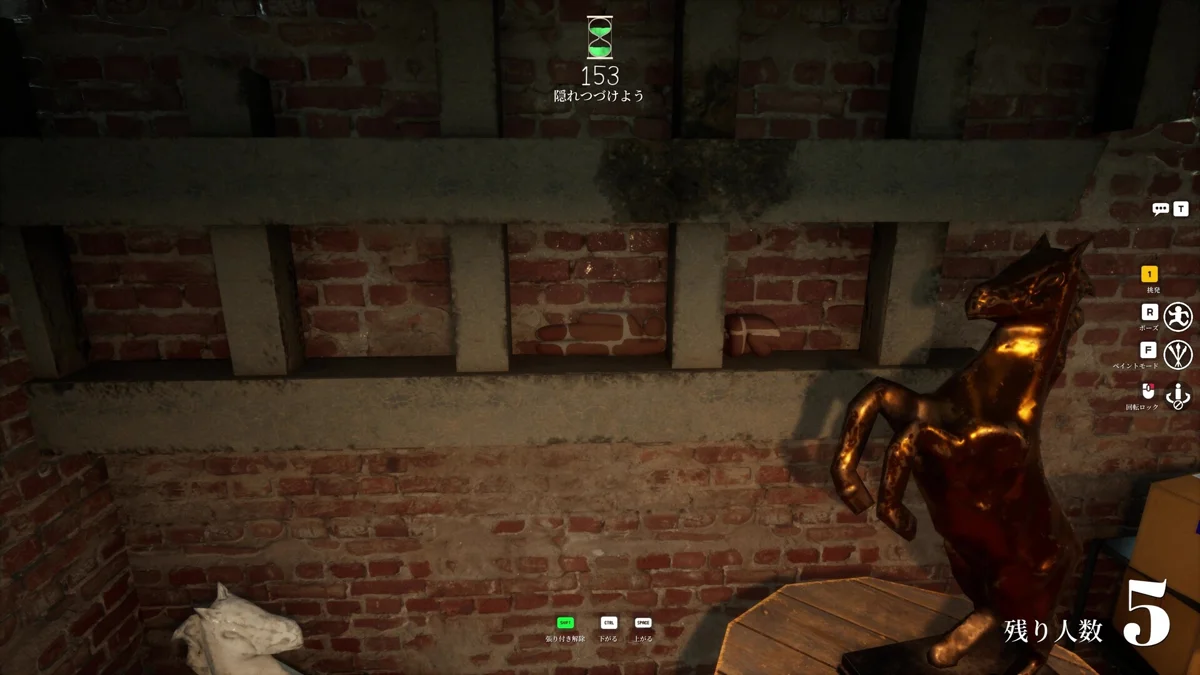
Beam Gap hiding example1

Spot 1

Beam Gap

HiderHard8-10 playersTexture Match

Dark beams break the body into pieces, which helps texture matching feel less exact.

Paint recipe

Main: Dark beam brown

Second: Brick orange

Match the largest shape first; texture comes second.

Pose tip: Press into the beam gap and keep bright edges hidden.

Hider plan

  1. Find a beam wider than one body side.
  2. Sample beam brown.
  3. Add brick color only on exposed edges.
  4. Let the beam hide the outline.

Seeker counter

  • Check beam gaps after floor props.
  • Look for body edges brighter than the beam.
  • Change angle before tagging.

Common fail: Painting brick texture without hiding your outline.

Clip idea: Before/after showing how the beam hides the torso edge.

Box Edge Crouch hiding example2

Spot 2

Box Edge Crouch

BothMedium5-7 playersProp Mimic

Box edges give a hard shape that helps a crouched body stop looking organic.

Paint recipe

Main: Cardboard brown

Shadow: Lower box shade

One box color, one lower shadow.

Pose tip: Crouch into a compact block and line up with the box corner.

Hider plan

  1. Choose a box cluster.
  2. Use one cardboard color.
  3. Darken the lower half.
  4. Align the crouch with a real box corner.

Seeker counter

  • Count box shapes in clusters.
  • Check boxes that seem too tall.
  • Look for rounded hands or head edges.

Common fail: Leaving a rounded head shape above a square object.

Clip idea: Seeker counts boxes, then catches the extra rounded one.

Backrooms

2 featured spots

Use ceiling lights, sign edges, and delayed upward checks to turn late-round panic into a repeatable win condition.

Open full map guide
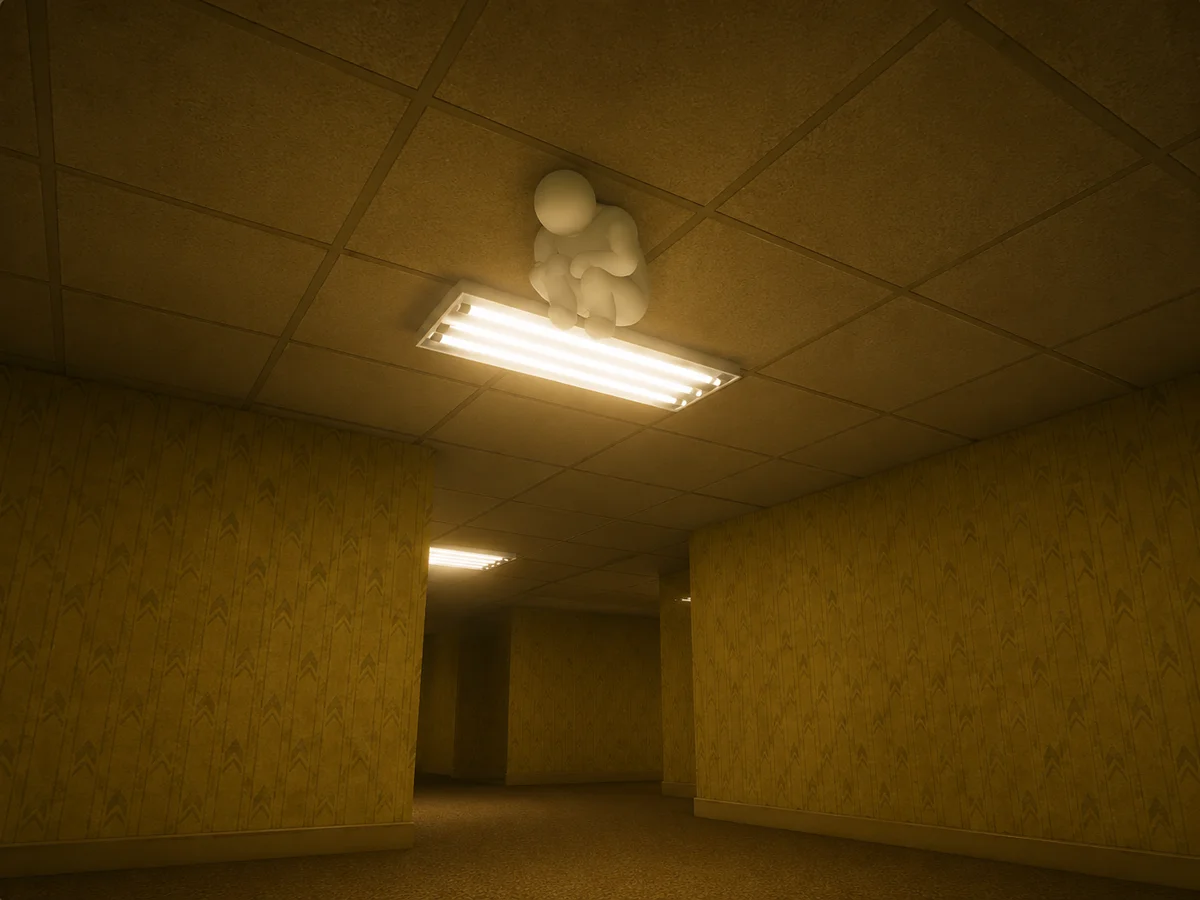
Ceiling Light Disguise hiding example1

Spot 1

Ceiling Light Disguise

BothHardAnyVertical Check

Most seekers clear the floor, walls, and prop edges first. A compact body against the light cluster stays outside their first scan pattern.

Paint recipe

Main: Warm white

Second: Soft yellow

Use one bright tone and avoid heavy shadow under the fixture.

Pose tip: Curl tight and keep every limb inside the light silhouette.

Hider plan

  1. Pick a ceiling light or high fixture with enough width to hide the torso.
  2. Sample the warm light color instead of the darker wall below it.
  3. Paint the body one bright tone.
  4. Compress the pose to reduce the outline.
  5. Stay fully attached to the light cluster.

Seeker counter

  • Spend the first half clearing low angles only once.
  • Use the second half of the round to run an explicit ceiling pass.
  • Pause at each light and check for one extra shape.

Common fail: Hiders hang below the light and create a floating body edge seekers can tag instantly.

Clip idea: Show a full floor sweep that misses the light until the final upward check.

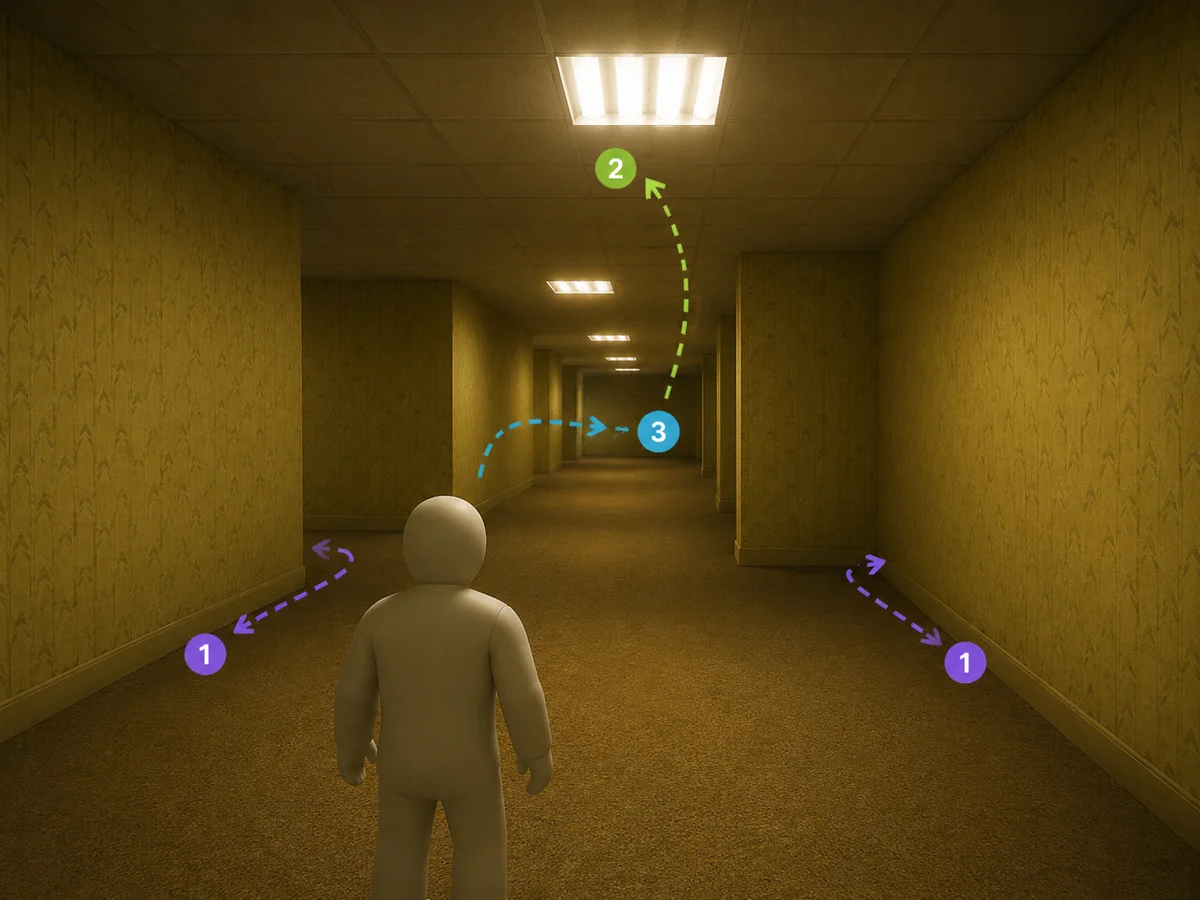
Vertical Check Route hiding example2

Spot 2

Vertical Check Route

SeekerMediumAnySweep Route

Backrooms punishes seekers who move fast without a route. The winning pattern is low sweep first, vertical sweep second, repeat pass last.

No paint recipe needed. This is a route or seeker check.

Pose tip: Hiders should assume the second pass will finally include ceiling and sign checks.

Hider plan

  1. Do not rely on only one high hide once seekers begin vertical checks.
  2. Expect smart seekers to revisit lights and signs late.
  3. Avoid moving after the first seeker misses the spot.

Seeker counter

  • Clear low clutter and wall corners first.
  • Check lights, signs, and top edges in the middle phase.
  • Revisit 'already clear' spots if one hider remains.

Common fail: Seekers trust teammate callouts and never run the upward pass themselves.

Clip idea: Overlay the route order while a seeker clears low, then high, then repeats one suspect light.

Need the complete list?

Use the map guide for the stage you are playing. This page stays short on purpose.